
Embedded Payment Management
Embedded Payment Management Components are an embedded same-page subscription payment management (adding, updating, deleting payment methods) experience that enables your customers to manage their subscription payment methods without leaving your website.
When a customer has signed into your account management portal and clicks on your “Update payment method” button or link, your website prepares the account contents from our Embedded Payment Management Library. Then, a payment management window appears directly over your webpage. After your customer manages their payment methods in the component, FastSpring updates the payment methods associated with their account.
FastSpring does not store credit card, PayPal, Amazon Pay, ACH or SEPA information. Instead, we tokenize the information and store it with the customer account information. This only applies if the following information is true:
- The order contains 1 or more automatic or managed subscriptions.
- The customer selected the Securely save payment details for automated subscription renewal checkbox for their subscription.
FastSpring does not share stored payment information with anyone. Customers can see the last 4 digits of their credit card in the embedded payment management component, however this is only accessible to them.
Create an Embedded Payment Management Component
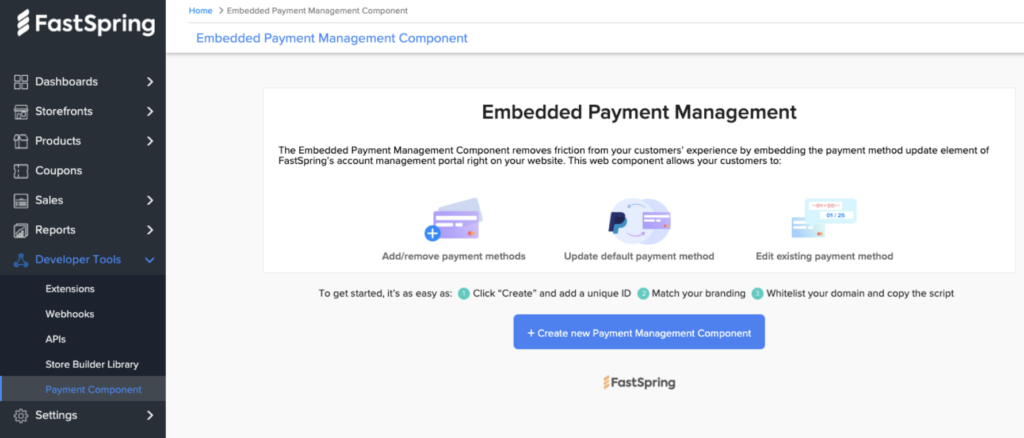
- Navigate to Developer Tools > Payment Component. Click Create new Embedded Payment Component. If you haven’t created any Payment Management Components you will see a welcome page
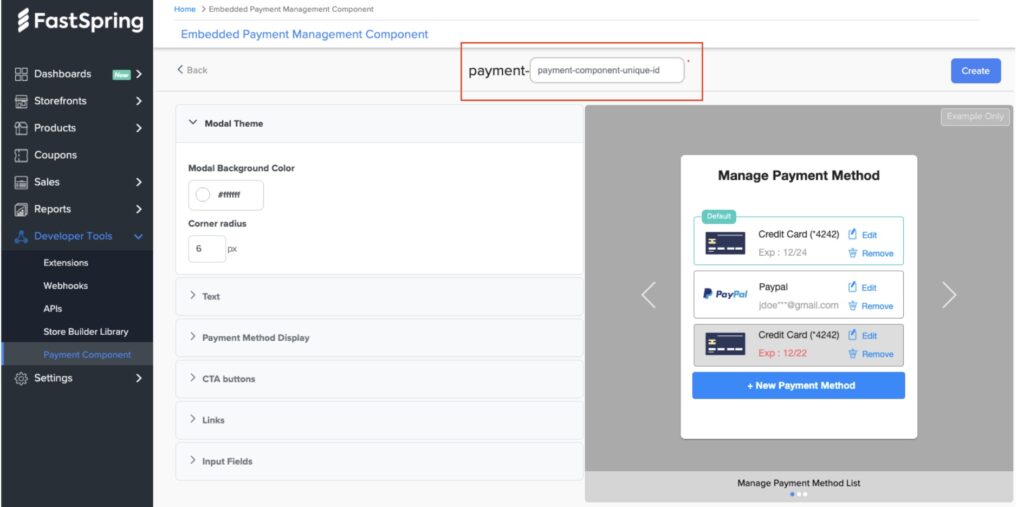
- Enter a unique component ID and optionally edit the styling:
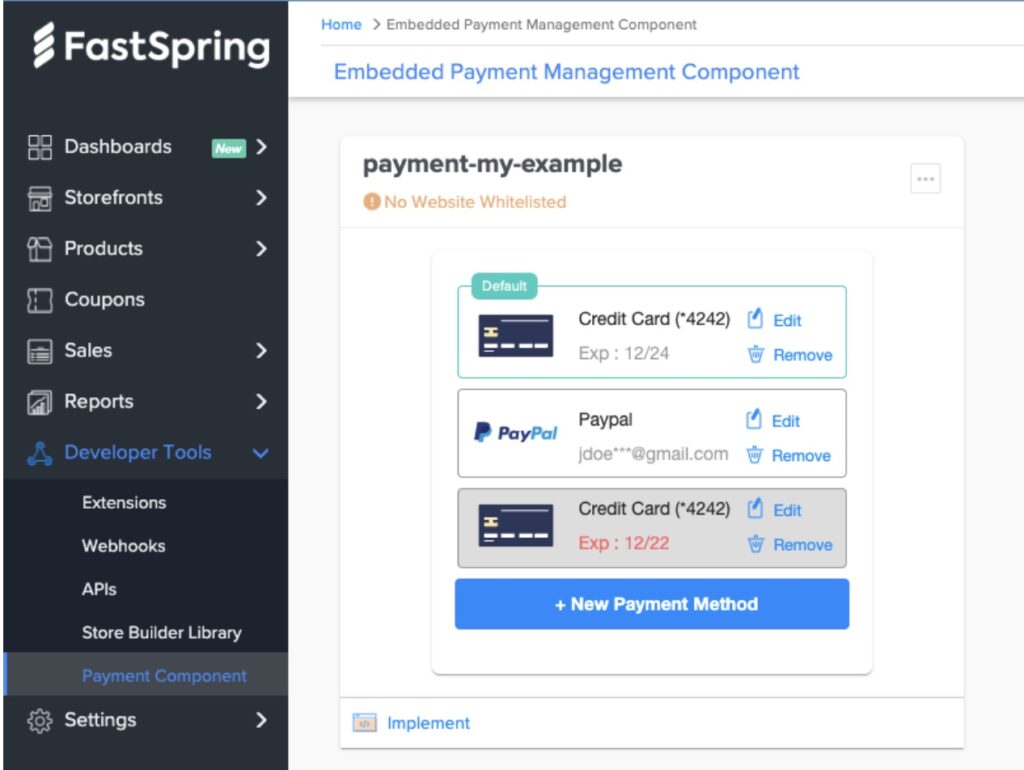
- Click Create. Your new Embedded Payment Management Component card appears on your Embedded Payment Management Component home page.
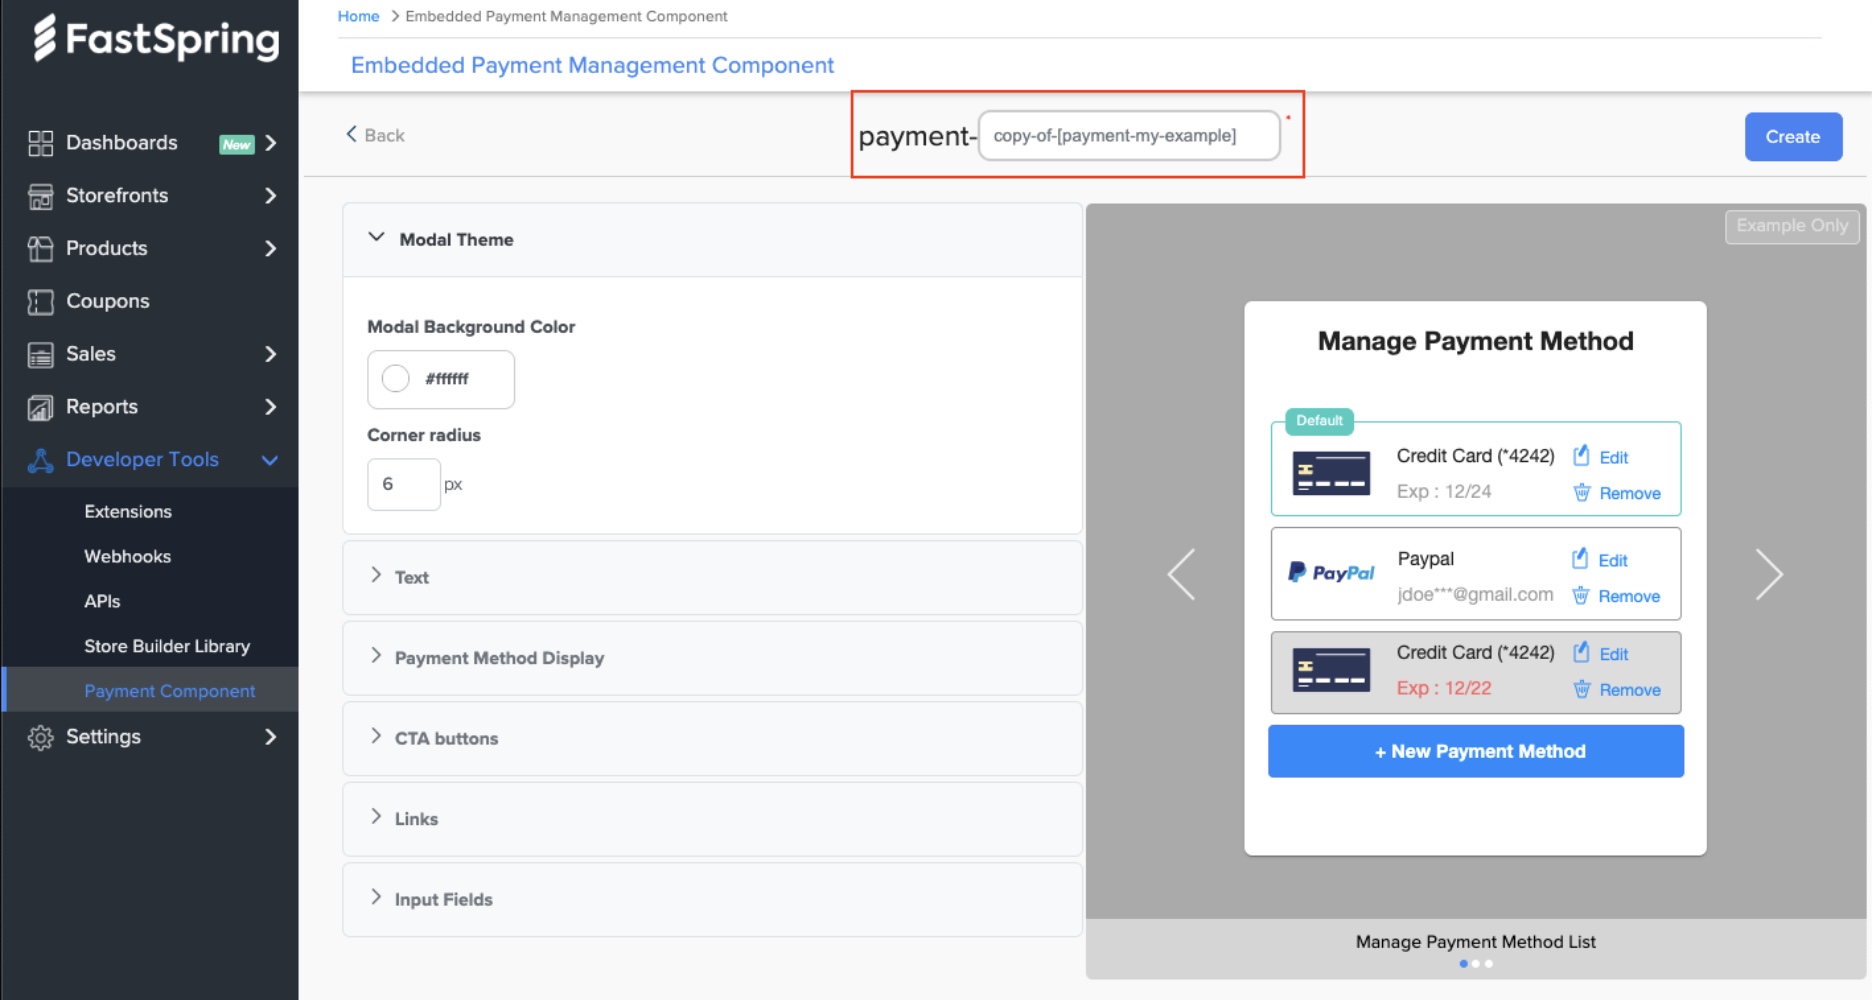
Customize the Styling
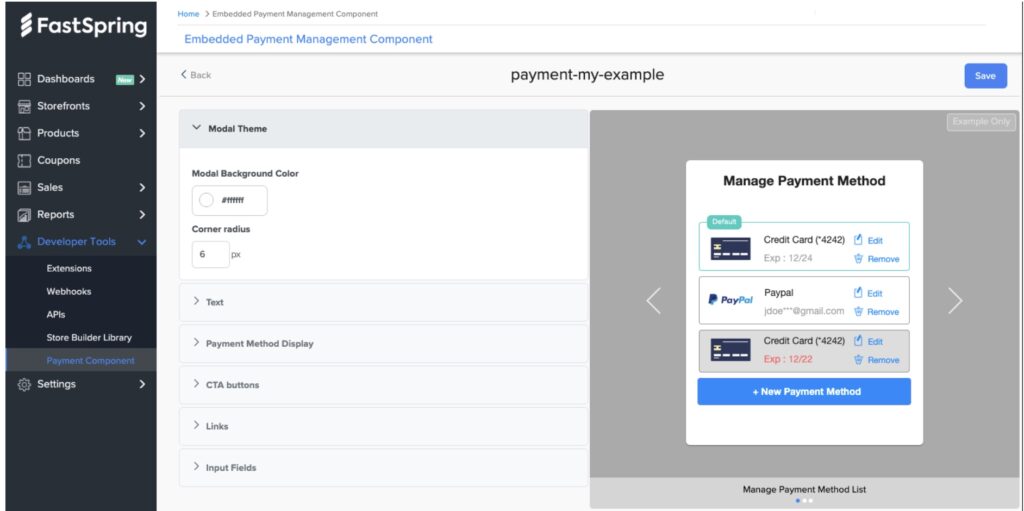
After you create the Embedded Payment Management Component, you can click anywhere on the card to customize the styling.
When editing the styling of your Embedded Payment Management Component, you will see a side by side preview of the styling you are applying. The preview is a static example, and not an exact interactive match to the component as it will be embedded on your site.
Modal Theme Styling
- Modal Background Color: Select a color for your modal’s background
- Corner Radius: Select the corner radius for the modal
Text Styling
- Font: Select the font to be applied to all the text in your component
- Title Text Color: Select what color to apply to all the titles on your component
- Body Text Color: Select what color to apply to all the text in your component, except for the title and the error message text
- Error Message Text Color: Select what color to apply to the error message the text in your component (specifically for an expired credit card)
Payment Method Display
- Payment Method Background Color: Select a color for all active payment method’s backgrounds
- Payment Method Border Color: Select the border color for all payment method’s borders (except the default)
- Payment Method Corner Radius: Select the corner radius for the payment methods
- Payment Method Logos Light/Dark Mode: Choose whether your payment method logos display in light or dark mode to stand out against your chosen payment method background color. The default is set to light mode.
- Expired Payment Method Background Color: Select a color for all expired payment method’s backgrounds
- “Default” Payment Method Border Color: Select the border color for a default payment method’s borders (the primary payment method associated with your customer’s subscription)
CTA Buttons
- Primary Button color: Enter the color of the primary button
- Primary Button Color on Hover: Enter the color that the button changes to when a customer hovers their cursor over it
- Primary Button Text Color: Enter the color of the text on the primary button
- Primary Button Text Color on Hover: Enter the color that the text changes to when a customer hovers their cursor over it
- Secondary Button Color: Enter the color of the secondary button
- Secondary Button Color on Hover: Enter the color that the button changes to when a customer hovers their cursor over it
- Secondary Button Text Color: Enter the color of the text on the secondary button
- Secondary Button Text Color on Hover: Enter the color that the text changes to when a customer hovers their cursor over it
- Button Corner Radius: Select the corner radius for the buttons in the component
Link Styling
- LinkColor: Select the color to apply to all links
- Link Color on Hover: Select the link color when a customer hovers their cursor over it
Input Fields
- Input Field Background Color: Select the background color for all input fields
- Input Field Border Color: Select the input field border color for all input fields
- Input Field Border Color on Focus: Select the input field border color when clicked
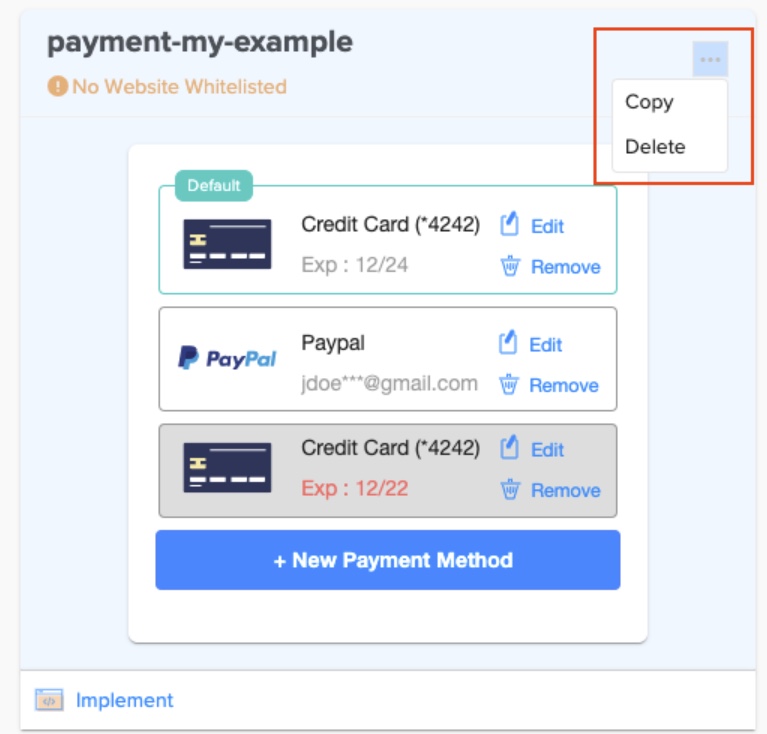
Copying and Deleting the Embedded Payment Management Component
You have the option of copying or deleting your component. Click on the top right hand corner “…” more options dropdown, and the two options will appear.
When you make a copy of your existing embedded payment management component, the styling you applied to the existing component will also be applied to the new component. The whitelisted sites applied to the existing component will not be copied over to the new component. You will have to create a new unique ID for the copied component.
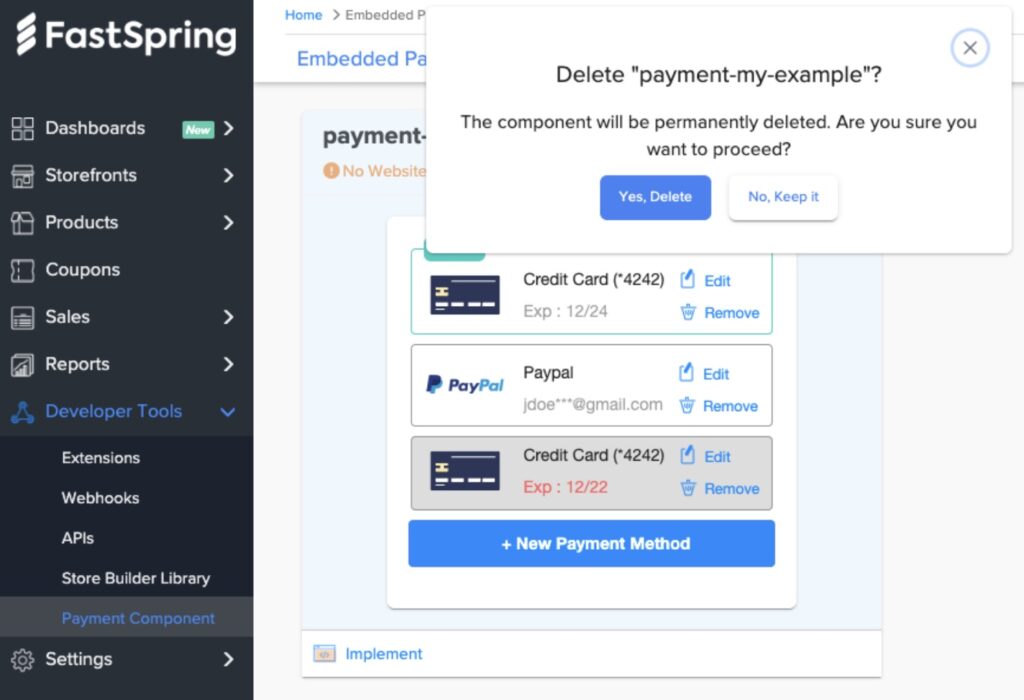
If you choose to delete the component you will be prompted to confirm your choice since deleting the component is a permanent action.
Adding an Embedded Payment Management Component to Your Website
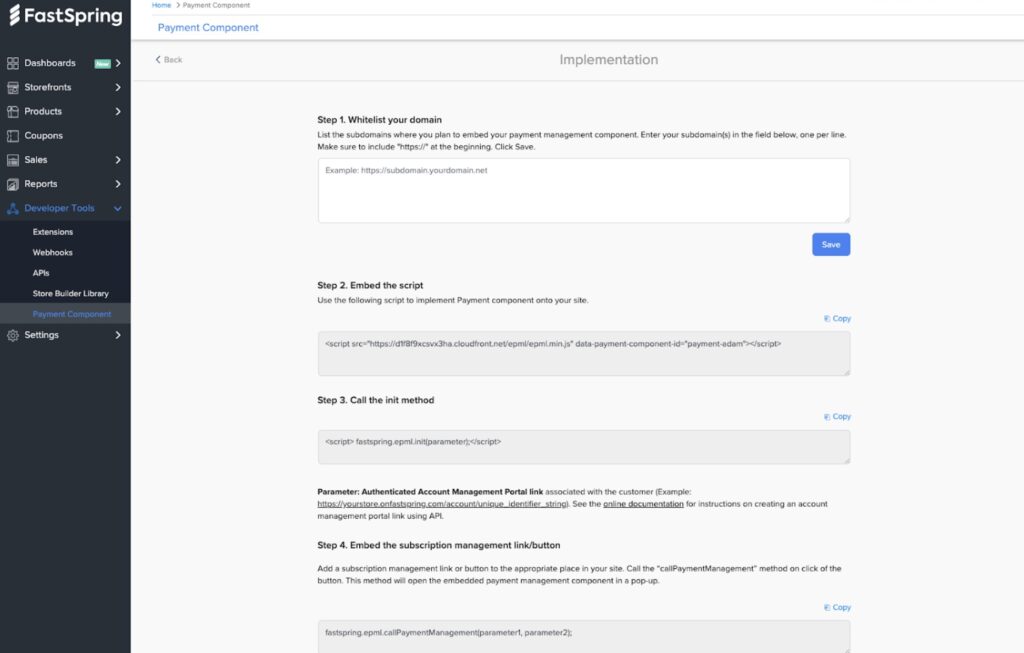
After you customize your embedded payment management component, use FastSpring’s Embedded Payment Management Libraryto add it to your website. To add the embedded component to your website:
- List your domains. Make sure to include “https://” at the beginning.
- Place the component on your website by following these steps.
- Test subscription management from your website.
List Your Domains
When using an Embedded Payment Management Component, you will have to deploy a security certificate and use the https: protocol for your website. This will allow you to embed the component and prevent web browsers from displaying warning messages about non-secure pages.
In the FastSpring App, list the domains where you plan to host the embedded payment management component. This allows the domains and subdomains to process payment method updates with your component. It also prevents the component from loading on external, untrusted domains.
- Navigate to Developer Tools > Payment Component.
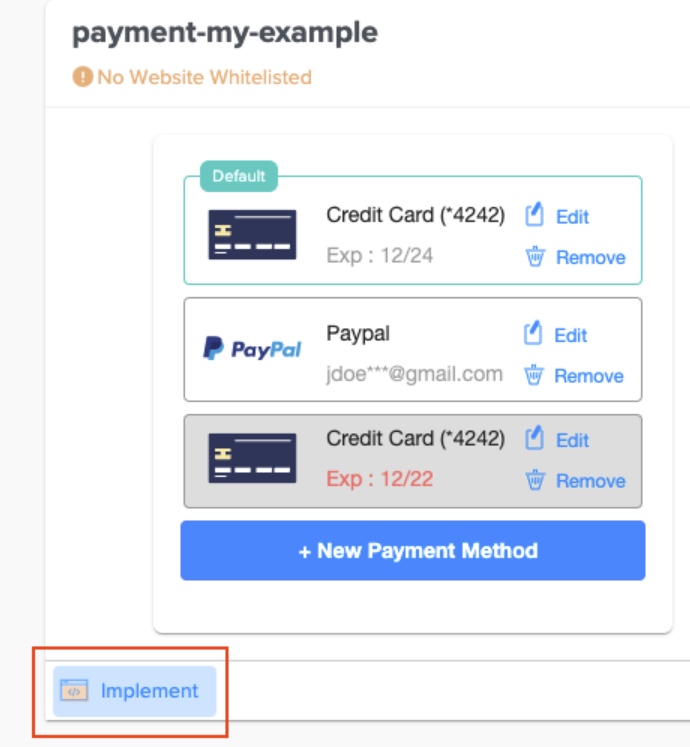
- On the applicable component, click the Implement button. You will be directed to the Implementation page.
- If you have previously listed domains, the Whitelisted Domain information at the top of the card will have a green checkmark with the number of whitelisted domains. Otherwise, it will be orange.
- In the text area, enter https:// and the domain of your website. In a new line, repeat this step until all domains are added.
- Click Save. Customers can now update their subscription payment methods on your component.
You can list each domain under multiple storefronts. To make further changes, click the Implement button.
Place the Embedded Payment Management Component on your Website
We recommend placing your Embedded Payment Management Component on a page that is not accessible to your customers to test the user experience. When you are satisfied, repeat the process to place the Embedded Payment Management Component on a customer-facing page.
After you list your domains, use the Embedded Payment Management Library (EPML) to place the Embedded Payment Management Component on your website.
- Navigate to Developer Tools > Payment Component. On the applicable component, click Implement.
- Copy the EMPL JavaScript snippet. Add it to the section of pages where you would like to use the Embedded Payment Management Component.
- After you have added the snippet to the top or bottom of the webpage, two methods (“init” & “**paymentManagementComponent**”) will be exposed in the namespace: fastspring.epml.
- Call the init method to retrieve the pre-authenticated URL of a customer’s Account Management Portal, using the /accounts/{account_id}/authenticate API endpoint.
- Embed the subscription management link/button. It will be directly associated with a specific subscription.
Test from your Website
After you add the component to your website, you can update test payment methods from your test account.
Follow the above steps to embed the payment management component onto your site. When you call the init method, you will need to add .test as part of the parameter (the authenticated account management portal link associated with the customer).
Example: https://yourstore.**test**.onfastspring.com/account/unique\_identifier\_string).
This takes the account to test mode. Now you’ll be able to use FastSpring’s test card for adding and updating your payment method.
Embedded Payment Management Component Customer Experience
When your customers open the Embedded Payment Management Component, they will view a pop-up with all the payment methods they have saved in their account. The payment method associated with the subscription is displayed as “Default” and will always be at the top of the list.
-
Manage existing payment methods. When a customer first purchases their subscription, they are given the option of saving credit card, PayPal, Amazon Pay, ACH Direct Debit, and SEPA Direct Debit payment methods. The component allows them to manage those saved payment methods.
-
Add a new payment method. Customers can add new payment methods, including credit cards (all countries and currencies), PayPal (limited countries and currencies), and Amazon Pay (limited countries and currencies). ACH and SEPA cannot be added as new payment methods.
-
Change their default payment method. If your customer updates their default payment method, then that payment method will be charged at the next subscription rebill. ACH and SEPA cannot be made a default payment method.
-
Delete a payment method. Customers will be able to delete any unused or expired payment methods. The default payment method cannot be deleted. Your customer must first switch to another default payment method before they can delete a payment method.
-
Edit an existing payment method. Customers will be able to update their credit card details. They will be able to update their PayPal account information. Amazon Pay, ACH, and SEPA cannot be edited.
Updated 4 months ago