
All-in-One Payments, Subscriptions, and Automated Tax Compliance Platform
Enjoy innovative monetization tools powered by an enterprise-grade platform with FastSpring®
Enjoy innovative monetization tools powered by an enterprise-grade platform with FastSpring®

Monetize AI, SaaS, mobile apps, and software

Sell games or in-game items worldwide

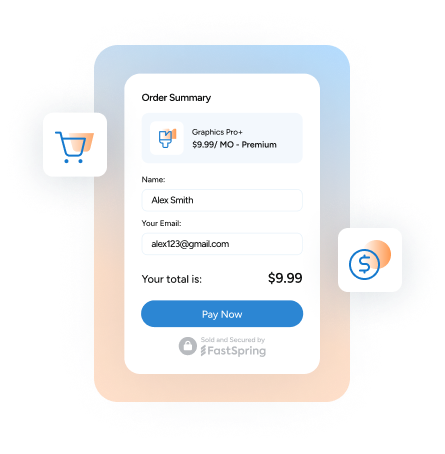
Collect payments for digital products, courses and more

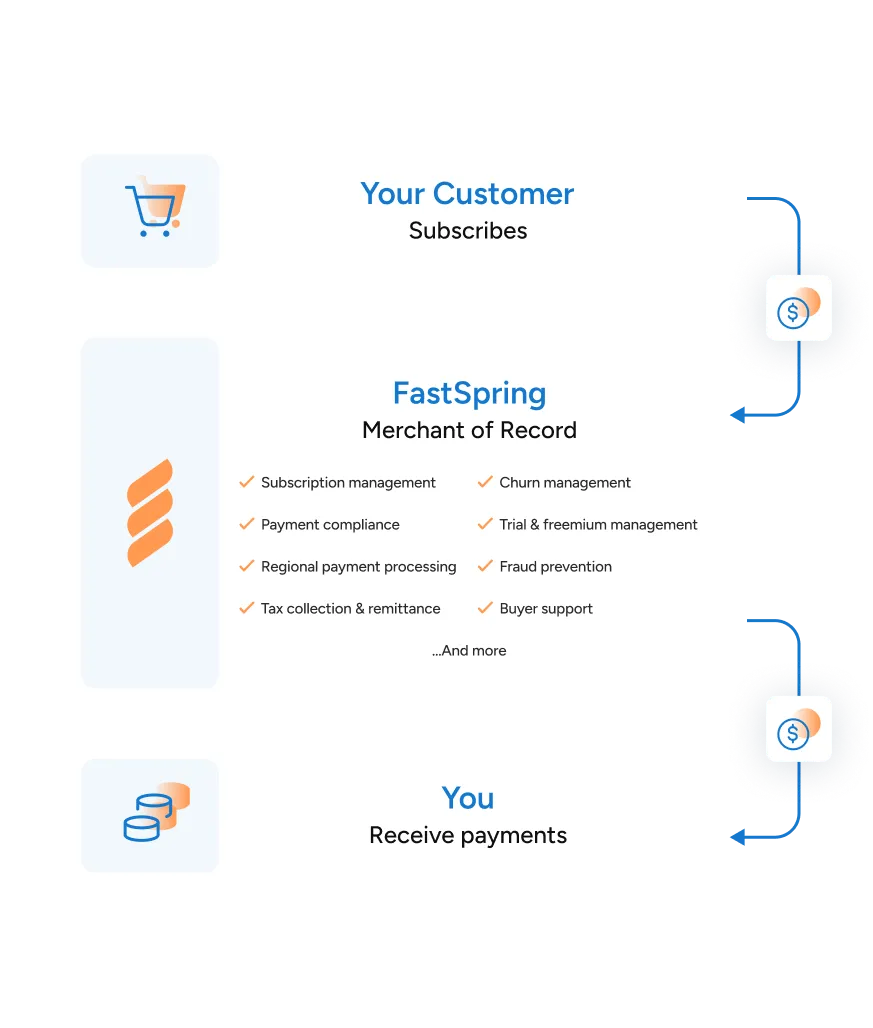
Offload global commerce, integrate less vendors, and stay in control with a suite of powerful and customizable developer tools from FastSpring.
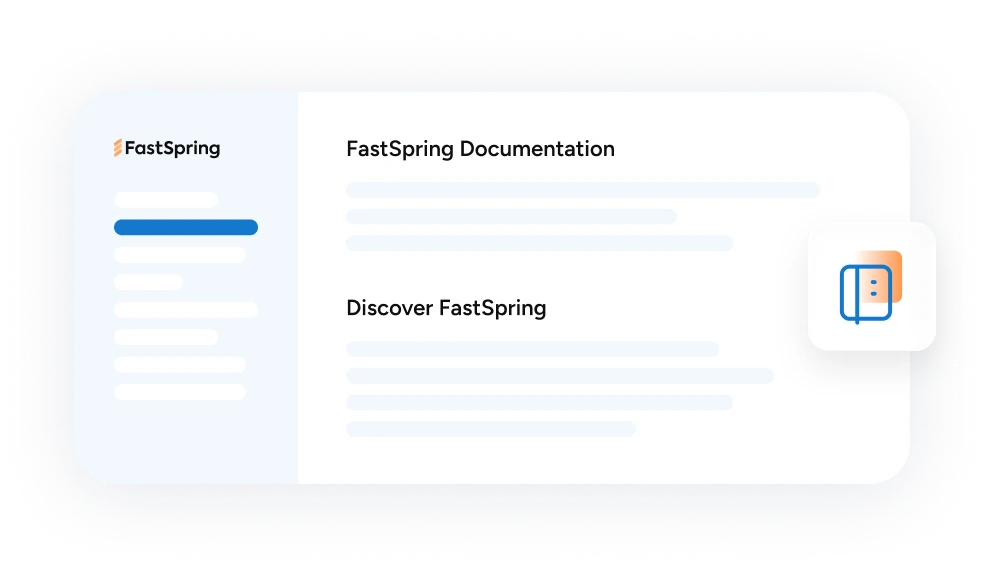
Easily plan and troubleshoot your FastSpring integration with extensive documentation featuring convenient code examples, dynamic API response emulators, and other helpful features to make building with FastSpring a joy.
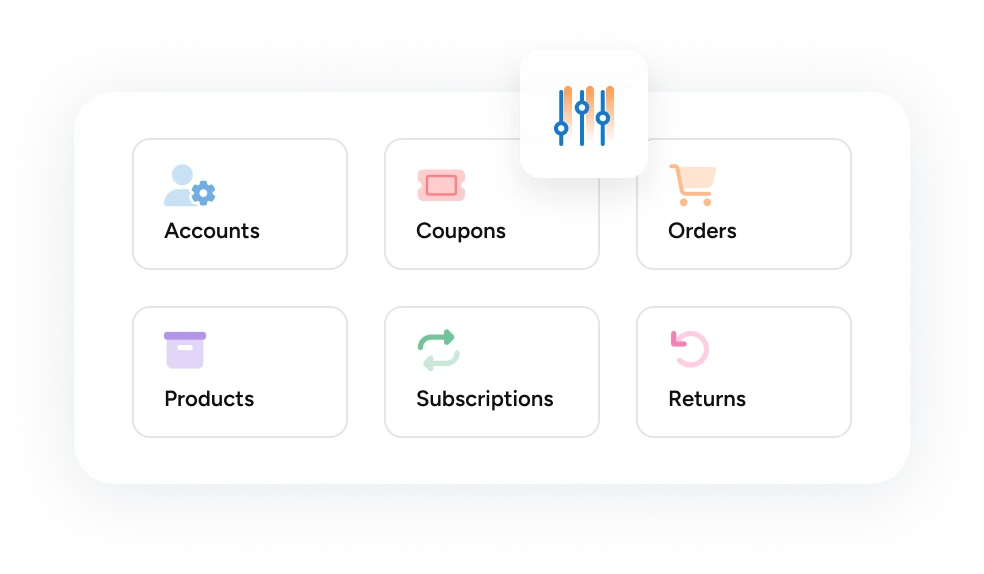
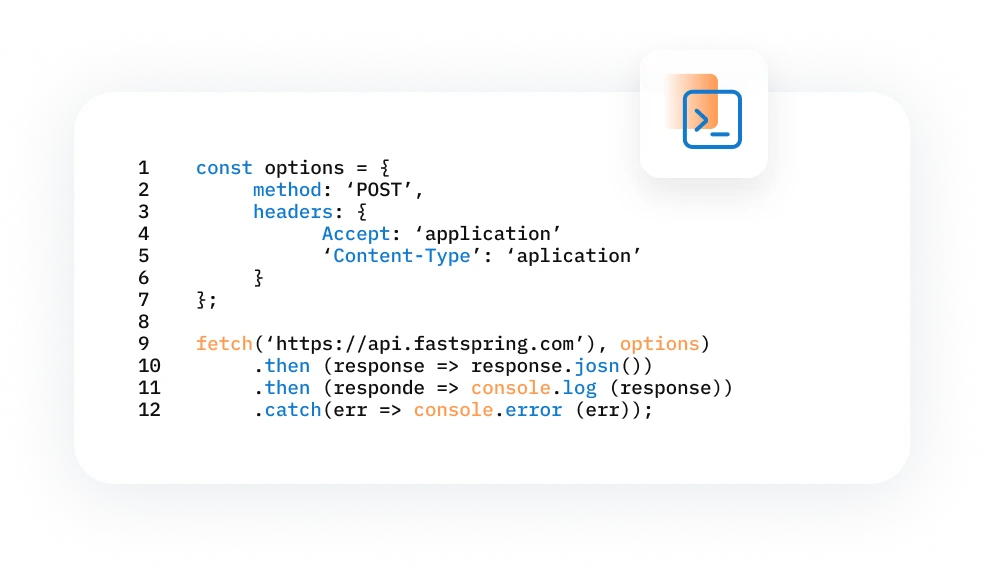
Connect FastSpring, your site, and back office systems with reliable and fast REST APIs. Monitor calls with the API Activity log and use APIs to manage changes to accounts, products, orders, coupons, returns, subscriptions, and more.
Reduce API calls with extensive JSON-based webhooks. Reliably listen to events on FastSpring to trigger actions in your app, website, or business systems. Monitor webhook activity with helpful in-app webhook logs.

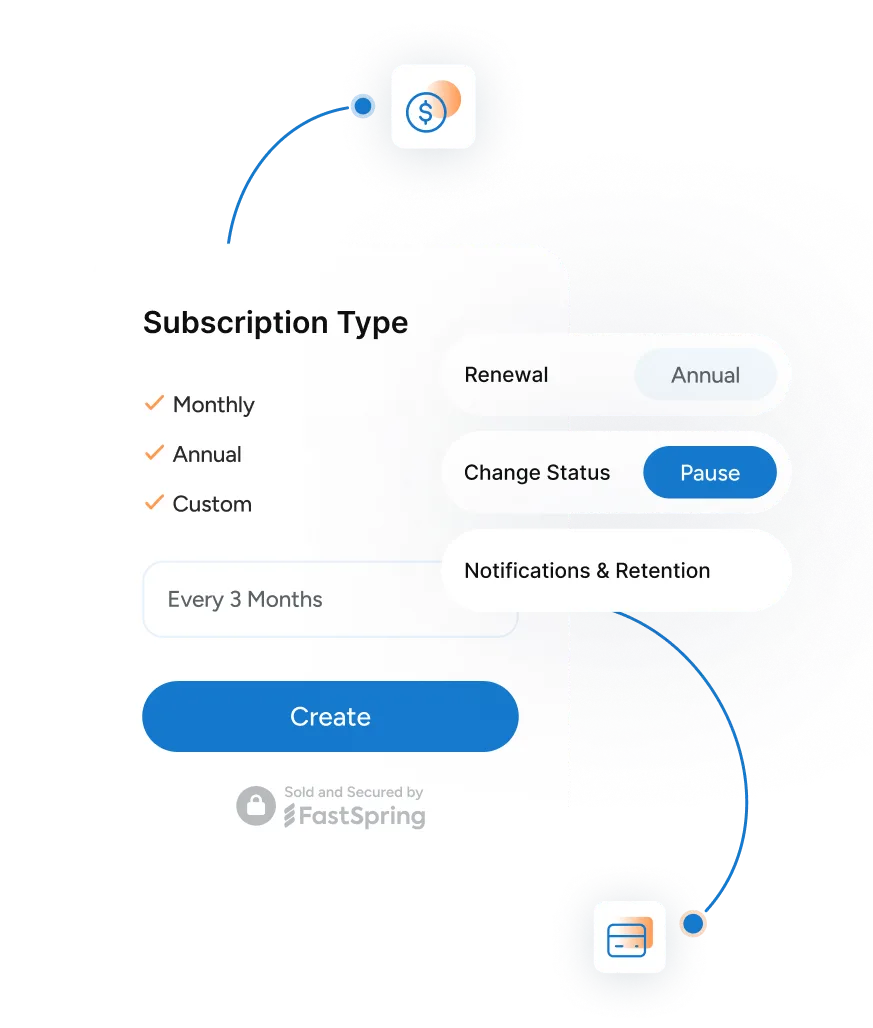
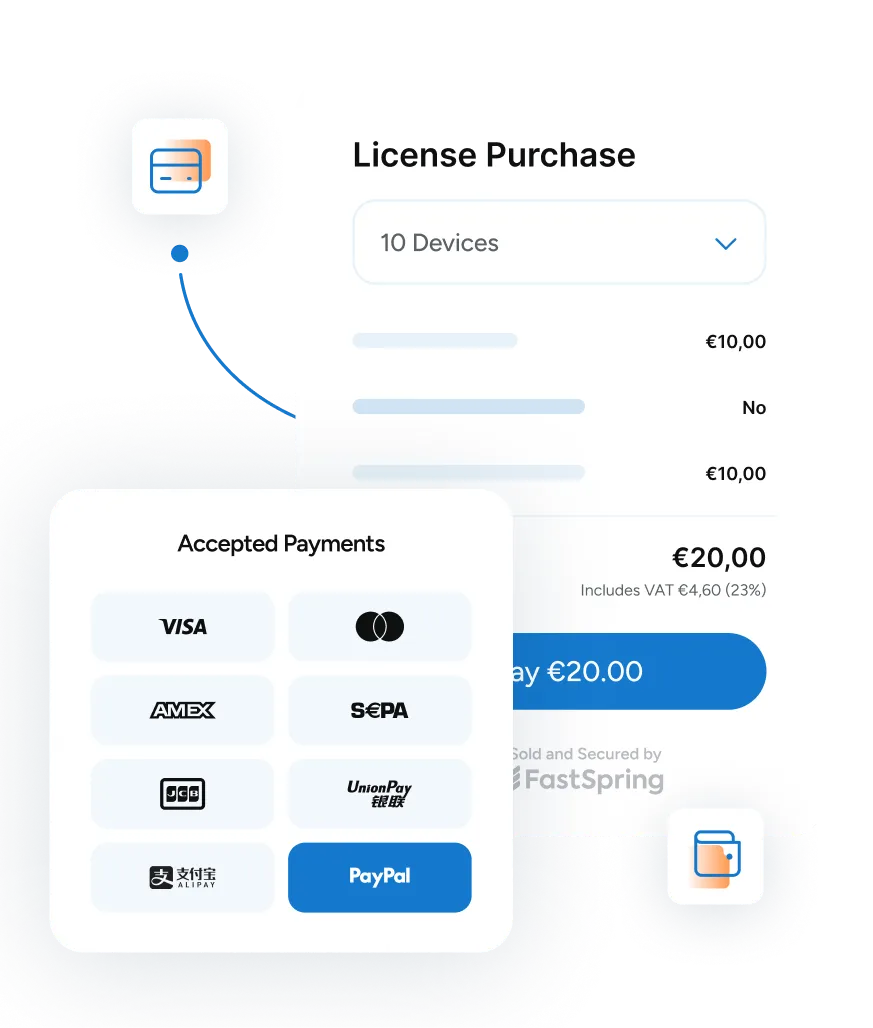
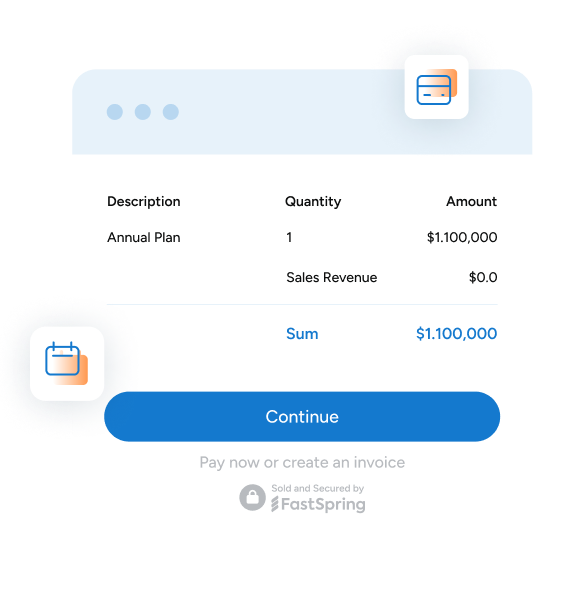
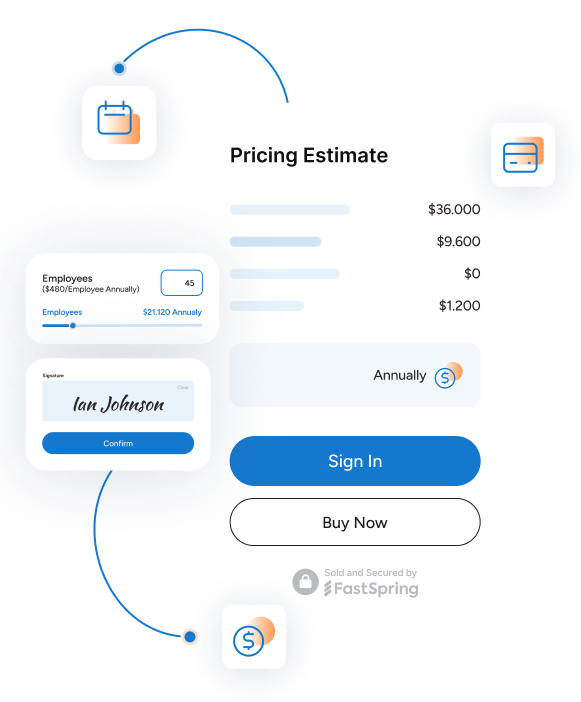
Quickly deploy and customize smart localized product listings, shopping carts, checkouts, payment/subscription management, and much more on your website or inside your customer portal.

“What really impressed me when we initially explained the situation to FastSpring leadership was that they got their act together. I mean, I have never been in any evaluation where that many people…”

“We have been delighted with everything about FastSpring — from the robust platform to the helpful customer service that supports our company growth goals.”

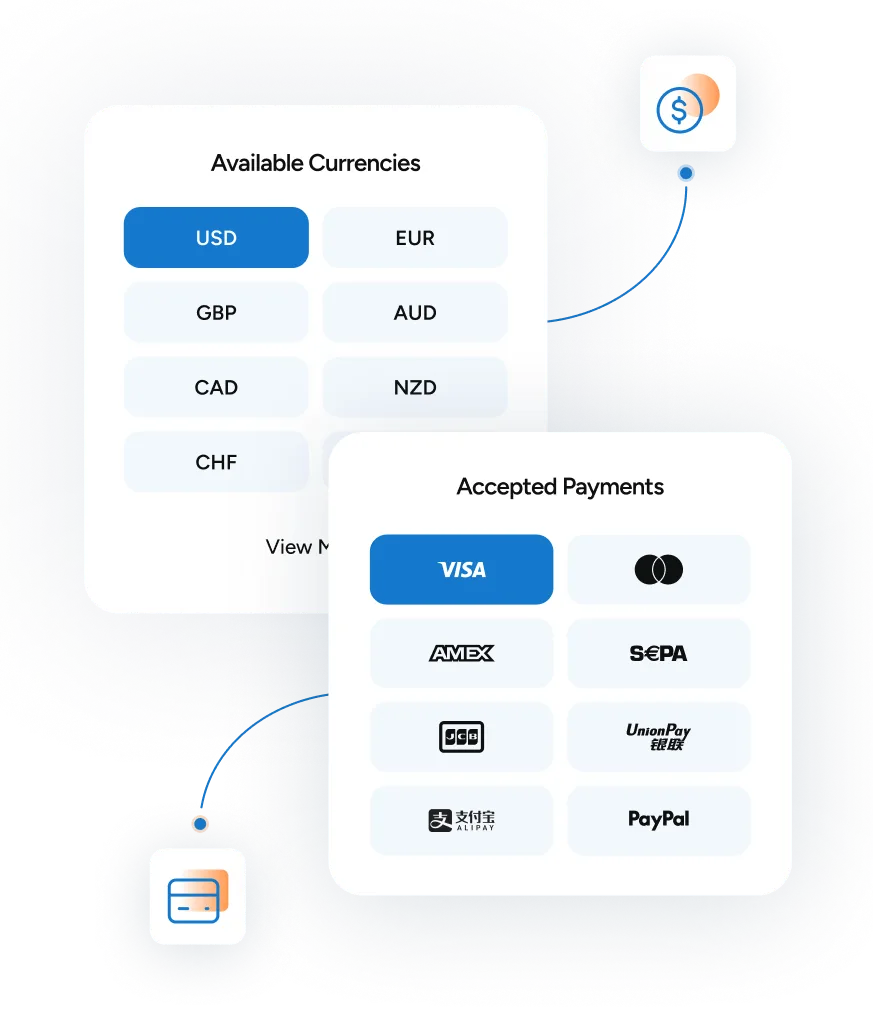
“We chose FastSpring because it provides an easy, localized purchasing experience for every customer, everywhere. FastSpring handles all the details — we don’t even have to think about it.”

“We need a merchant of record, and FastSpring handles billing automatically, checkout, scheduled payments, and quotes. Support has been amazing. FastSpring is integrated with almost every sales process we have, and it’s converting very well for us.”
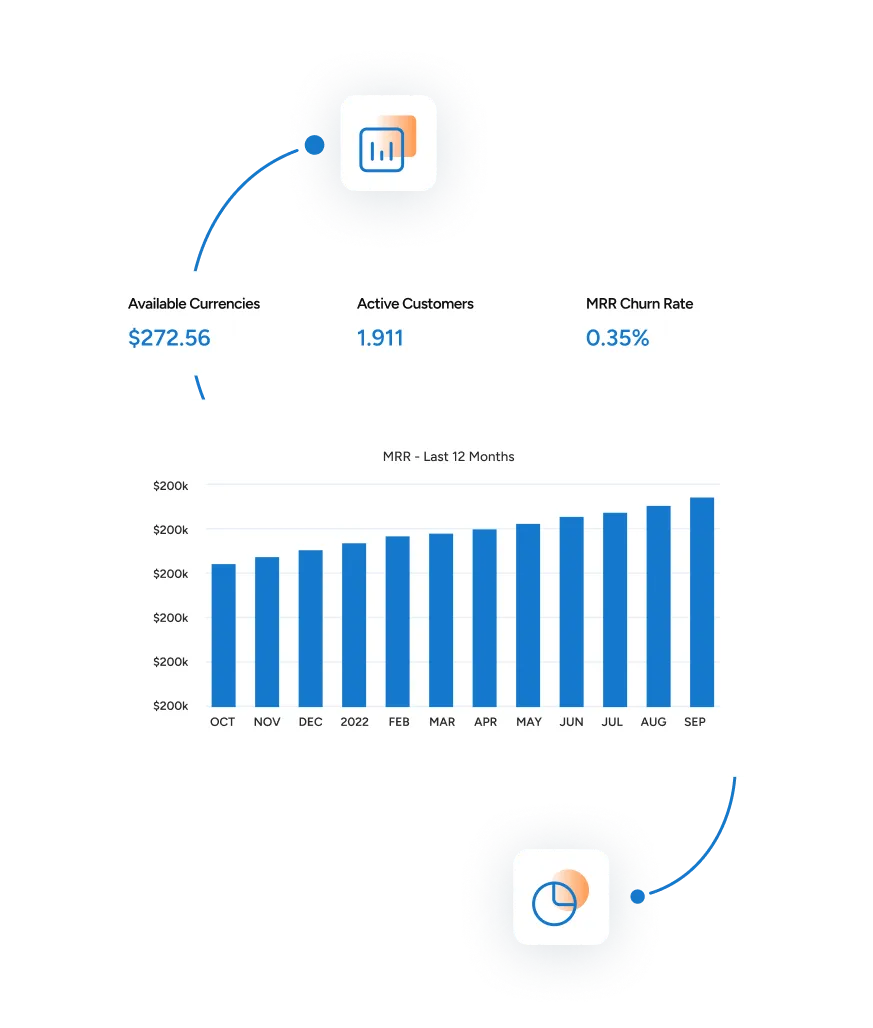
Delivering top performance globally with best-in-class support and ROI for your business.